
1st post: Installing a Fish Finder
2nd post: Upgrading a Plano Dry Box
3rd post: How To Install SuperNova Fishing Lights On Your Kayak
4th post: Install Scotty Flush Mounts on a Kayak
5th post: YackAttack GearTrack GT90 Install and Review
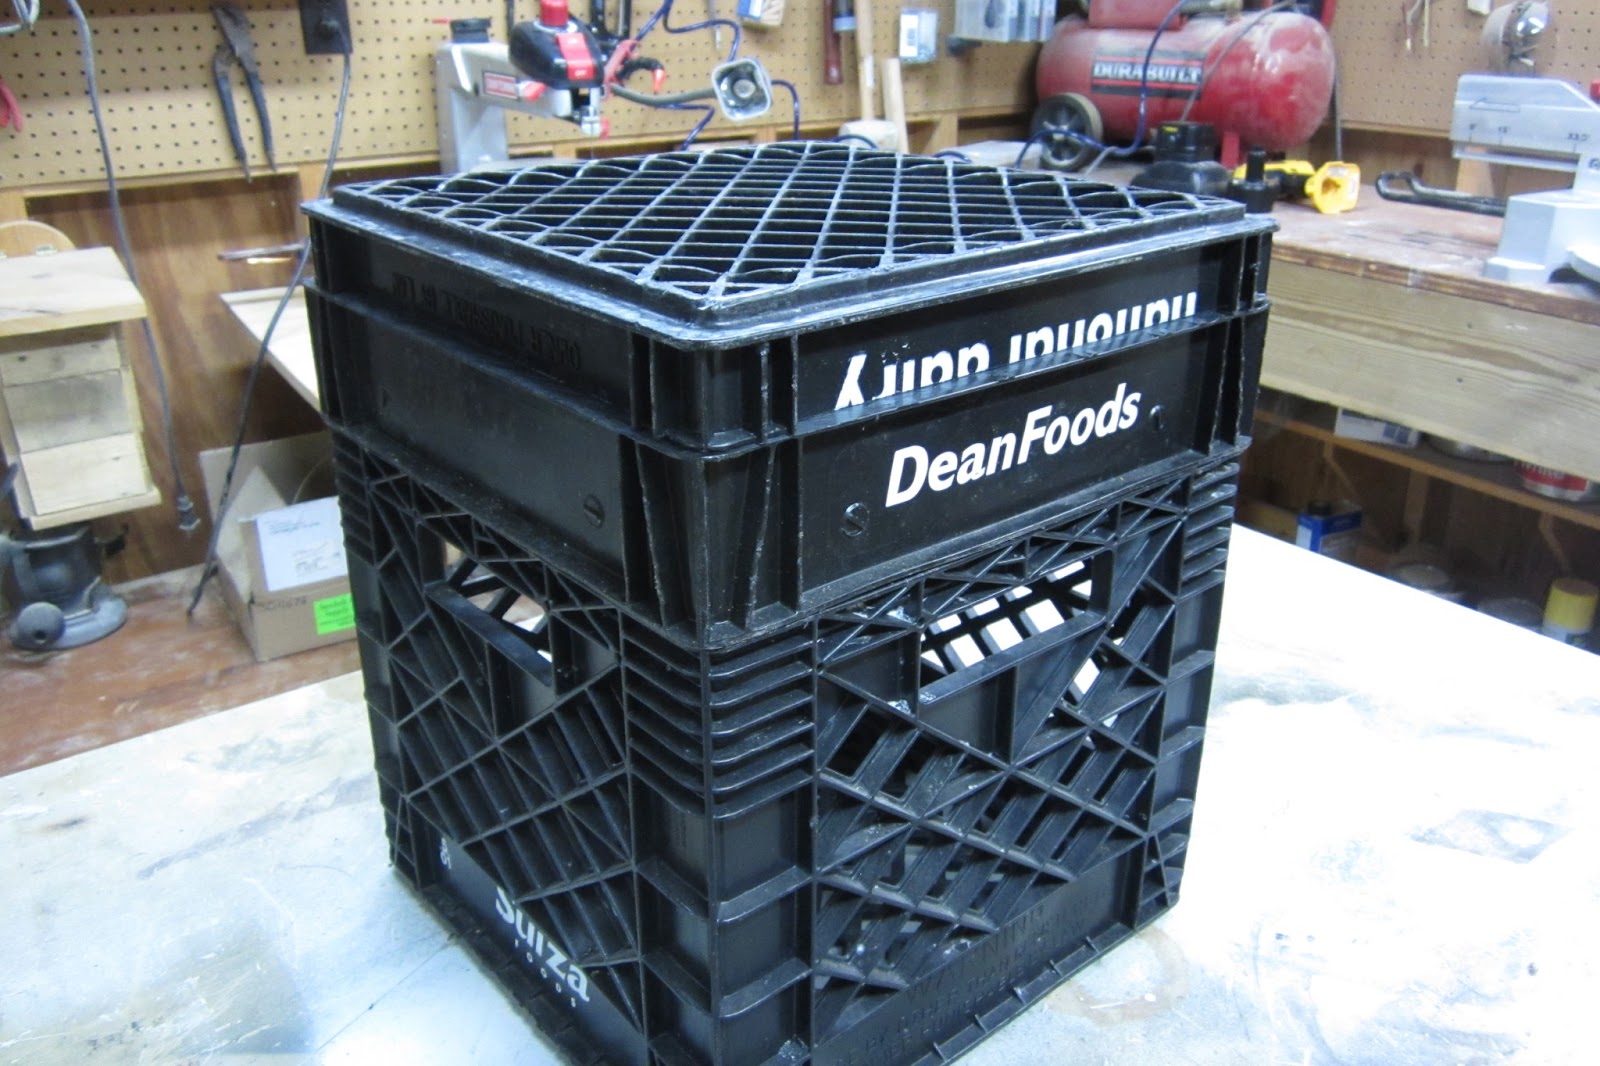
A crate is the hub of most kayak anglers gear organization. I have tried to get away from using a crate, but time and time again, I find myself returning to it. A simple milk crate is all you need. It holds your tackle and other stuff, keeping your necessities within reach and from falling overboard.
Most kayak anglers find themselves customizing their crate. This is a very personal endeavor. everyone has a different style and different needs. If you kayak for long you will probably find yourself with several crates, each rigged for a different type of fishing.
Most crates are simple, used milk crates. Some people like the lighter and larger crates used for files. If you have money to burn, you can buy a BlackPack from YackAttack. It is the ultimate kayak crate, but I can't justify the $125.....yet.
When I began thinking about building the ultimate crate, I had a few requirements. I wanted it to have a lid with a strong latch, so if I turtled, I would not loose my stuff. I wanted a separate storage area for bait and tackle. It needed to hold my safety flag, net, and camera mount. Most importantly, it needed to give me easy access to my gear.
Here is how I accomplished these goals:
Before I begin, I want to note that only a few of these ideas are original to me. I scoured the web and combined all of the good ideas!
First I stated out with three crates. Three!!! Yup Three. Took a while to track down three in good condition.

Then I cut two of them up.

You don't need a table saw to do this. A hack saw will work fine. A table saw just makes a cleaner cut and takes a LOT less time.
The first one I cut about an inch from its base. I cut the second one where the solid area met the mesh area. Its hard to explain. Look at the picture below.

You can probably see where I am going with this.
The middle section in the picture above serves as the lid for the main crate and as the bait tray. the small section serves as a lid for the top tray. This gives me enough room to store a Gulp! container in the top tray.

Instead of using a metal hinge, I simply drilled holes and used bungee cord. This creates a very strong, flexible hinge.

The problem with this method is that it also creates quite a bit of side to side play in the lid.


I needed something strong enough to take a wave, but simple enough that I could open it with one hand.
Bungees saved the day again.

For the top latch, I attached a small stainless steel bolt to the lip of the lid and a small bungee to the bait tray. This is simple and very secure.
The bottom section gave me more trouble. Most of my ideas that were easy to undo, were not secure. The secure ones took both hands to undo.
I ended up with this:

I attached a bungee with a hook to the bait tray and a single bungee to the bottom of the main crate. This is easy enough to undo, but is very secure. I filled the crate up as I would to go fishing and held it upside down. No problems!
In my next post I am going to show you how I mounted the accessories, attached it to my kayak, and give you a field report on how it performed!
Hint: There are some big pro's and con's to this design. It is not for every situation........