Monday, April 29, 2013

The Ultimate DIY Kayak Crate - Part 2

I have been working on the rigging of my new Trident 13 for several months now. I am finished and am going to start a series of post on what I did and how I did it. I plan on finishing with a monster overview post, showing all of my customization. This is the seventh post in the series.

1st post: Installing a Fish Finder 
2nd post: Upgrading a Plano Dry Box
3rd post: How To Install SuperNova Fishing Lights On Your Kayak
4th post: Install Scotty Flush Mounts on a Kayak
5th post: YackAttack GearTrack GT90 Install and Review
6th post: The Ultimate DIY Kayak Crate - Part 1


In part 1 of making this crate I showed how to make a two tiered crate with hinged lids that can be secured. In part 2 (this part) I'll quickly go over accessory attachments, how I like to secure it to my kayak, and then go over the pro's and con's of this design.

On one side of the crate I have zip tied PVC pipe for my safety flag, camera pole, and net. I have rod holders on my Plano box, so they are not needed here. You could just as easily add rod holders to the side.


Zip ties work well, but be sure to use at least three times more than you think you need. I personally prefer to use pipe clamps where I can. They rust quickly, but hold much better.

These PVC holders are fairly standard. The only improvement I made was adding a little silent traction material to the inside of the tubes.


On the other side I added a bungee and foam ball to hold my Hawg Trough. The Hawg Trough is probably the best fish measuring device available right now. It is also ungainly and difficult to store. This is the best method I have found.

As for securing it to my kayak, the best way I have found is to use Nite Ize Gear Ties. They are easy to attach and undo, but are remarkably secure. Just twist one end though a hole in your crate and twist the other end through a pad eye. Super easy!


The Pro's of a crate like this are obvious. It can hold a lot of junk and will stay closed if you flip your kayak.

It is not without fault, however.

This type of crate is very tall. Not only is it difficult to grab stuff out of it, it catches wind like a sail.   In even moderate wind, it makes positioning you kayak very difficult. Also, it is heavy, especially when fully loaded.

I use this crate on calm days when I know there is a good possibility that I might get wet. What do I use most of the time? Stay tuned for my simple, every day crate.

Monday, April 22, 2013

Floating bait board / knife holder

A couple weeks ago I lost my Scotty bait board and nice bait knife in a kayak disaster. I would love to buy another, but I only have so much money to replace my lost gear. Until I replace more important gear, a fancy bait board and knife is not a great priority.

But, I still needed a bait board.

So, I decided to make one. Instead of just a plain old cutting board, I decided to put together a supper awesome one. The one I made floats and securely holds a full sized chefs knife.

I spent $2 for two cheap cutting boards and $3 for an old chefs knife at a local bait shop. The rest of the stuff I needed, I already had.


I started by tracing the outline of the knife blade on one of the cutting boards. Then I took my plunge router and routed out a trough for the blade the same thickness as the knife blade.


Once the second cutting board is placed over the trough I routed, the knife slides right in. Unfortunately, it was routed a hair to deep, so I had to add a couple of pieces of duct tape into the trough to "grip" the knife blade and to keep it from sliding out.


I connected the two boards with simple stainless steel screws at each corner. Pilot holes need to be drilled as cutting boards can be surprisingly brittle. Don't try to glue them together. The plastic used in cutting boards is made to resist everything, including glue.


Looks good. Now we just need to make it float.


A pool noodle cut down the center and zip tied to the handle works great!


It is a little larger and heavier than I would have liked, but serves its purpose beautifully.

Wednesday, April 17, 2013

Simple Lemon Stuffed Rainbow Trout

Rainbow trout are tasty and very easy to prepare. All you have to do is gut them and they are ready to go!

Trout need to be prepared differently if they are fresh verses store bought. Fresh, as in less than a few hours dead, trout have a much, much better flavor. You really do not need to do much to them. This recipe is for fresh caught trout. It is too mild for store bought fish, they will turn out bland.

 
You will need two freshly caught trout, two lemons, lemon pepper, minced garlic, onion powder, salt, pepper, paprika, and white wine. You can substitute apple juice for white wine, but it will not be nearly as good.
 
 
Sprinkle the cavity of the fish with lemon pepper, garlic, onion powder, salt, and pepper. Don't be afraid to lay it on thick. Stuff the cavity with thinly sliced lemons.
 
Put the stuffed fish on a greased rack over a foil lined pan. Pour about 1/8 of an inch of wine into the pan.
 

Place thinly sliced lemons on top of the fish and sprinkle with paprika. If you really like paprika, sprinkle it on heavily.

Bake at 350 for about 20 minutes. Check the fish often as cooking times will vary depending on the size of the fish. It is done when the flesh flakes off the bone. Keep in mind, underdone fish tastes better than overdone.

 
I like to eat it with the head on. My wife, however, always makes me cut off the head on hers.

Enjoy!

Monday, April 15, 2013

I Flipped My Kayak - Some Hard Lessons Learned

"It finally happened."

This was my first thought the moment I went over and the world went green.

Everyone flips their kayak eventually. Around here they call it turtleing. It is so guaranteed that one of the first things everyone does after buying a new kayak is practice recovering from turtleing.

I had managed to avoid it for over a year, but upon encountering a pocket of very swift water, over I went. I was never in any real danger of dying. I had my PFD on and was relatively close to land.

I thought I was ready. It was easy in practice. Reach over the bottom (now top) of the kayak, grab the handle, and let your body weight pull you over. However, I practiced in a calm lake with an un-rigged kayak. Why risk loosing any gear, right? Reality was much different.

After the initial shock of going over and getting trapped underneath for a moment,  I tried to right my kayak.

 No joy. not even close.

I tried again.

Uh oh. This isn't working.

Again.

Even worse. My strength was waning.

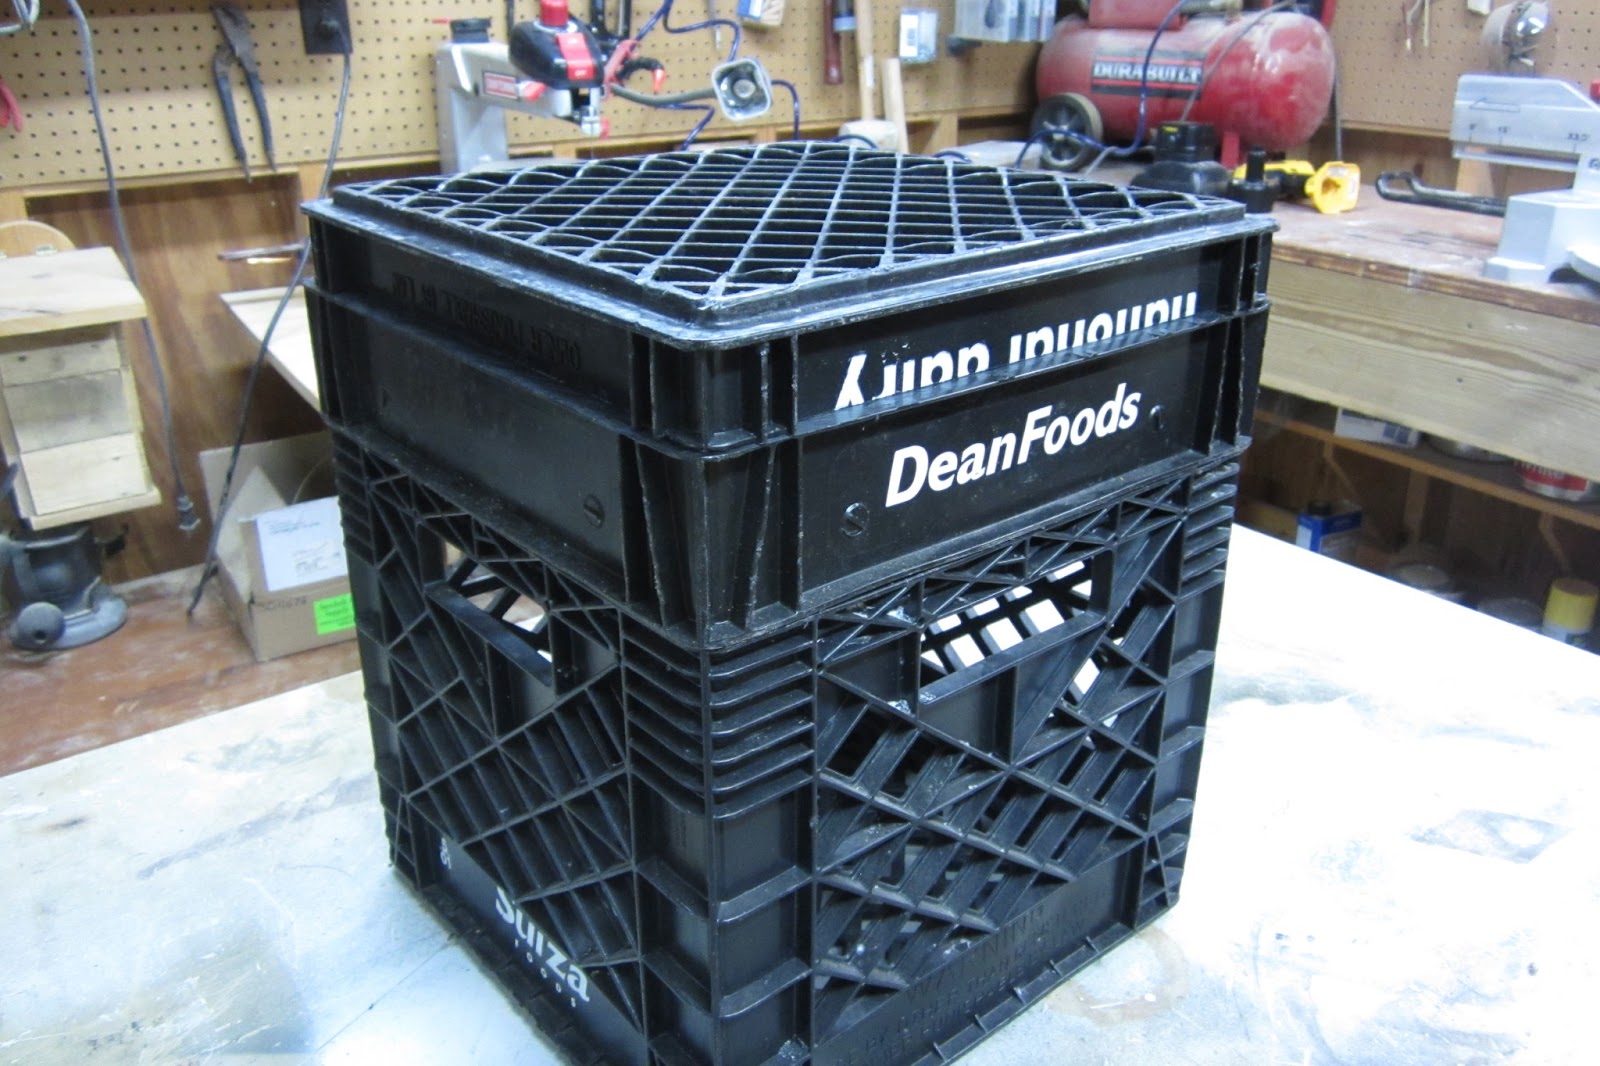
So, I held onto my boat tried to catch my breath and thought for a moment. It must be my crate, sonar shield, and catch bag on the bow. They were acting against my efforts.

I lifted the edge of the kayak, looking underneath to confirm my suspicions.

HOLY CRAP!!!

The rod pod was open! I must have left it unlatched! This means that my hull could take one water. LOTS of water!

I began to panic a little. My boat could sink. It had definitely taken on water. One more reason I could not right it. In fact, it was probably taking on more water with every attempt to right it.

It was at this point that I gave up on righting it and began to swim to shore. It was about 100 yards away. The current had pushed me out into deep water. That may not seem like much to you, but I cannot swim without a life jacket. So, basically, I just flail around  Even then, I was towing a 100 pound kayak across swift water.

It took every ounce of my strength. The shoreline was a 15 foot undercut cliff. It was encrusted with little mussels and sharp as a cheese grater. I was able to grab a root, pull myself up, and with great effort, right my kayak.

With an overwhelming sense of safety, I climbed in. It felt so good and secure to be back in my boat!

I did a quick assessment of my losses. It did not look good. I could see my stuff scattered over a 100 yard area. I used my net, which was still attached to the side of my kayak by a bungee, to paddle over to my paddle. From there I picked up what gear I could find.

My losses were substantial and included:


  • New jigging rod and Ambassador C3 reel - $170
  • Contour Roam action camera - $120
  • Point and Shoot Camera - $150
  • Waterproof Cell Phone - $50
  • Scotty Camera Mount - $20
  • Scotty Bait Board - $16
  • Bait Knife - $12
  • Fish Clip stringer - $15
  • Box of terminal tackle - $50
  • Anchor and rope - $20


So, my losses were well over $500.

The rod, action camera anchor line, and tackle box had floats, but they were either not big enough, or the current took them off somewhere. The phone and point and shoot camera were in my lap. I had just finished using them and had not put them away. All of the other things were stowed, but came unattached in the current.

I learned a good lesson from the experience. Before I go out in rough water again I will be practicing recovery with a fully rigged kayak. I am also going to be much more diligent with strapping things down and using properly sized floats.

Not many pictures in this post. I am currently cameraless. I've already ordered a new, upgraded camera. I'll replace the other things eventually, but it will take time. At least I am able to revisit some gear decisions and perhaps try another rout this time.


Tuesday, April 9, 2013

First Annual June Four-Fish Fiesta!

An exciting online fishing tournament is getting ready to start over at  Fish Tattoo!


The longest total of two Black Bass, one Sunfish, and one Catfish is the grand winner. There are also subcategories for the longest of each type of fish.

This is a CPR tournament, so it looks like anyone can enter.

The prizes are sweet and best of all, It is free to enter! Head over to  Fish Tattoo to check it out!

Friday, April 5, 2013

How To Get Your Concealed Carry Permit In Virginia


Those of us who live in Virginia have the privilege of living in one of the most free states in the union, possibly one of the most free places on earth. One of the benefits of this freedom is easy access to firearms and the freedom to carry firearms.

Virginia allows open carry. Basically, this means that if you can legally own a gun, you can legally carry it just about anywhere, holstered. It simply has to be visible.

Virginia also issues a concealed carry permit. While I personally think the US constitution gives its citizens the right to conceal carry without a permit, Virginia's concealed carry permit is reasonable and easily obtained. Virginia law states that they have to issue you the permit, unless they have reason not to.

Many people put off getting their CCP because they find the process too confusing. Recent changes in Virginia law has eliminated a lot of roadblocks to obtaining your permit. It is quite easy!

Here is a list of the requirements:

  1. A completed, notarized application
  2. Proof that you have taken a gun safety class
  3. A copy of your ID
  4. $50 at most (It cost me $15)
  5. Proof of residency
The Application can be downloaded here

It is basically the same stuff they ask when you buy a gun. It takes maybe ten minutes to fill out. before you sign it, have it notarized. Notaries are everywhere. You can find one with this tool.

You probably already have proof that you have taken a gun safety class. A hunter safety course works. I used the hunter safety card that I got when I was 10 years old in Tennessee. If not, there are online safety classes that qualify. It usually costs about $30 and only takes a couple of hours. You can technically get your permit without ever touching a gun.

Lets be honest here: If you are new to guns, you need to go to an actual safety class and have someone teach you how to safely shoot. Online classes are only good for experienced shooters who just need proof that they are experienced. 

Make a copy of your drivers license and attach it to your permit. Just about any government issued ID will work.

Call your county circuit court and ask how much the payment will be. Virginia law limits this to $50. I was charged $15. This varies from county to county. Also, ask what form of payment they want. Some want cash, others accept personal checks, still others require a money order.

Virginia law does not require you to provide proof of residency. In fact, it is probably a violation of the law to do so. However, your county will require it anyway. You could fight it, but I recommend just sending it along with your other papers. The requirement makes sense from a governmental standpoint. Vehicle registration, electric bill, water bill.... anything like that will work.

Pack it all up and send it to the circuit court for the county you live in. If there are any problems, they will call you. My circuit court was very helpful, but I'm sure this will just depend on the person you talk to! 

They have 45 days to issue your permit. If they do not, you will be issued a de facto permit. This just allows you to carry while the government catches up on its paperwork.

Before you carry, be sure your read all of the law. Most importantly, where you are NOT allowed to carry!  Also, don't bother applying if you do not qualify for a permit. It will only get you in trouble. 

There you have it! It took me about an hour of work and $15 (I have a friend who is a notary). There is really no reason not to carry. Unless you don't care to protect yourself, your loved ones, or your community......


Wednesday, April 3, 2013

The Ultimate DIY Kayak Crate - Part 1

I have been working on the rigging of my new Trident 13 for several months now. I am finished and am going to start a series of post on what I did and how I did it. I plan on finishing with a monster overview post, showing all of my customization. This is the sixth post in the series.

1st post: Installing a Fish Finder 
2nd post: Upgrading a Plano Dry Box 
3rd post: How To Install SuperNova Fishing Lights On Your Kayak 
4th post: Install Scotty Flush Mounts on a Kayak
5th post: YackAttack GearTrack GT90 Install and Review


A crate is the hub of most kayak anglers gear organization. I have tried to get away from using a crate, but time and time again, I find myself returning to it. A simple milk crate is all you need. It holds your tackle and other stuff, keeping your necessities within reach and from falling overboard.

Most kayak anglers find themselves customizing their crate. This is a very personal endeavor. everyone has a different style and different needs. If you kayak for long you will probably find yourself with several crates, each rigged for a different type of fishing.

Most crates are simple, used milk crates. Some people like the lighter and larger crates used for files. If you have money to burn, you can buy a BlackPack from YackAttack. It is the ultimate kayak crate, but I can't justify the $125.....yet.

When I began thinking about building the ultimate crate, I had a few requirements. I wanted it to have a lid with a strong latch, so if I turtled, I would not loose my stuff. I wanted a separate storage area for bait and tackle. It needed to hold my safety flag, net, and camera mount. Most importantly, it needed to give me easy access to my gear.

Here is how I accomplished these goals:

Before I begin, I want to note that only a few of these ideas are original to me. I scoured the web and combined all of the good ideas!

First I stated out with three crates. Three!!! Yup Three. Took a while to track down three in good condition.


Then I cut two of them up.


You don't need a table saw to do this. A hack saw will work fine. A table saw just makes a cleaner cut and takes a LOT less time.

The first one I cut about an inch from its base. I cut the second one where the solid area met the mesh area. Its hard to explain. Look at the picture below.


You can probably see where I am going with this.


The middle section in the picture above serves as the lid for the main crate and as the bait tray. the small section serves as a lid for the top tray. This gives me enough room to store a Gulp! container in the top tray.


Instead of using a metal hinge, I simply drilled holes and used bungee cord. This creates a very strong, flexible hinge. 


The problem with this method is that it also creates quite a bit of side to side play in the lid. 


To counter this side to side play, I riveted aluminum plates to the sides of the tray. The lid closes over the aluminum plates and is very secure.


I attached the bait tray to the main crate in the exact same way. The only difference is that I used heavier bungees on the lower section.

Now for the latch.

I needed something strong enough to take a wave, but simple enough that I could open it with one hand.

Bungees saved the day again.


For the top latch, I attached a small stainless steel bolt to the lip of the lid and a small bungee to the bait tray. This is simple and very secure.

The bottom section gave me more trouble. Most of my ideas that were easy to undo, were not secure. The secure ones took both hands to undo.

I ended up with this:


I attached a bungee with a hook to the bait tray and a single bungee to the bottom of the main crate. This is easy enough to undo, but is very secure. I filled the crate up as I would to go fishing and held it upside down. No problems! 

In my next post I am going to show you how I mounted the accessories, attached it to my kayak, and give you a field report on how it performed!

Hint: There are some big pro's and con's to this design. It is not for every situation........

DreamHost Promotional Code